Welcome to the Bostitch Pencil Sharpener Manual! This guide provides essential information for safe and effective use of your electric or manual sharpener. Read carefully to ensure optimal performance and longevity of your device. Discover key features‚ safety tips‚ and maintenance instructions tailored for both electric and manual models. This manual is your go-to resource for troubleshooting‚ warranty details‚ and proper disposal methods. Designed for classrooms‚ offices‚ and home use‚ it ensures your pencils stay sharp effortlessly. Follow the guidelines to maximize efficiency and extend the lifespan of your sharpener. Happy sharpening!
1.1 Overview of the Bostitch Pencil Sharpener
The Bostitch Pencil Sharpener is a high-quality tool designed for precision sharpening. Available in both electric and manual models‚ it features innovative technologies like Tip Saver and dual cutter systems for consistent results. Built with durability and ease of use in mind‚ it accommodates multiple pencil sizes and includes antimicrobial protection for hygiene. Perfect for classrooms‚ offices‚ or home use‚ this sharpener ensures sharp‚ clean pencil points every time‚ making it a reliable choice for everyday use.
1.2 Importance of Reading the Manual
Reading the Bostitch Pencil Sharpener Manual is crucial for safe and effective operation. It provides detailed safety precautions‚ proper usage guidelines‚ and troubleshooting tips to ensure optimal performance. The manual helps prevent accidents‚ motor damage‚ and improper sharpening. By following the instructions‚ users can maintain the sharpener’s longevity and enjoy consistent results. It also offers guidance for resolving common issues‚ ensuring a smooth experience for both electric and manual models.
Key Features of the Bostitch Pencil Sharpener
The Bostitch Pencil Sharpener features advanced technologies like Tip Saver‚ Dual Cutter for longevity‚ and compatibility with multiple pencil sizes. It also includes Antimicrobial Protection for hygiene.
2.1 Tip Saver Technology
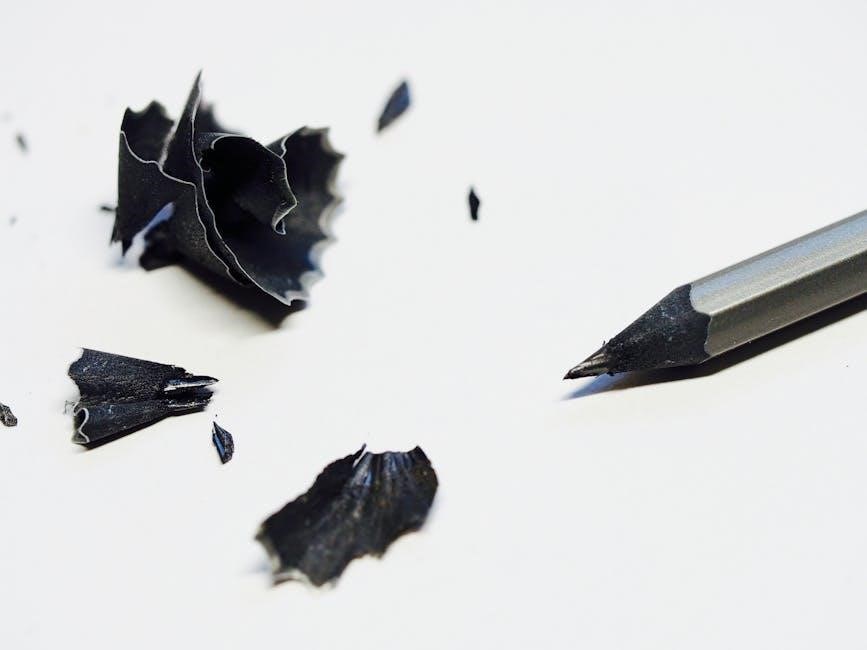
The Tip Saver Technology prevents over-sharpening by detecting when your pencil is sharp. It stops automatically‚ indicated by a change in motor sound and decreased resistance‚ ensuring a precise point every time. This feature protects both the pencil and the sharpener‚ enhancing durability and providing consistent results. It’s designed for efficiency and convenience‚ making it ideal for daily use in classrooms or offices.
2.2 Dual Cutter Technology for Longevity
The Dual Cutter Technology extends the life of the cutting blades by distributing sharpening efforts evenly. This innovative feature ensures consistent sharpening while reducing wear on the blades‚ allowing them to last up to six times longer than standard cutters. The technology maintains sharpness and prevents over-sharpening‚ providing durable performance and reliable results with every use‚ making it a key asset for heavy-duty applications.
2.3 Multiple Pencil Size Compatibility
The Bostitch Pencil Sharpener features an 8-hole dial that accommodates various pencil sizes‚ ensuring precise sharpening for different diameters. This versatility makes it ideal for classrooms‚ offices‚ and home use‚ catering to both standard and larger pencils. The adjustable dial allows users to select the correct hole for their pencil size‚ ensuring a perfect sharpen every time. This feature enhances convenience and efficiency for users with diverse pencil preferences.
2.4 Antimicrobial Protection
Bostitch sharpeners include antimicrobial protection‚ reducing the growth of bacteria‚ mold‚ and mildew. This feature is especially beneficial in shared environments like classrooms and offices‚ promoting hygiene and reducing germ spread. The antimicrobial coating ensures a cleaner and safer user experience‚ making it a practical choice for high-traffic settings. This added protection contributes to the longevity and maintenance of the sharpener‚ keeping it clean and functional over time.
Safety Instructions
Keep the sharpener out of children’s reach. Avoid over-sharpening. Ensure proper electrical connections. Follow all safety guidelines to prevent accidents and ensure safe operation.
3.1 General Safety Precautions
Always keep the sharpener out of children’s reach. Avoid over-sharpening‚ as it may damage the device. Ensure proper electrical connections for electric models. Handle cutting blades with care to prevent injury. Regularly clean and maintain the sharpener for optimal performance. Unplug the device before cleaning or servicing. Never use damaged or broken pencils‚ as they may cause breakage. Follow all safety guidelines to ensure safe and efficient operation.
3.2 Electrical Safety Guidelines
Always plug the sharpener into a 120-volt outlet. Avoid exposing the device to water or moisture. Never use damaged cords or plugs. Keep the sharpener away from flammable materials. Unplug the device before cleaning or servicing. Ensure proper ventilation to prevent overheating. Avoid overloading electrical circuits. Follow all electrical safety standards to operate the sharpener safely and efficiently. Regularly inspect the cord for damage or wear.
How to Use the Bostitch Electric Pencil Sharpener
Plug the sharpener into a 120-volt outlet. Insert the pencil into the opening‚ and the motor will start automatically. Allow the device to sharpen the pencil until it stops. Remove the sharpened pencil to prevent motor damage. Always follow the instructions for safe and effective use of your Bostitch Electric Pencil Sharpener.
4.1 Plugging in the Device
To use your Bostitch Electric Pencil Sharpener‚ insert the AC adapter plug into the nearest 120-volt outlet. Ensure the outlet is easily accessible and not overloaded. Before plugging in‚ check the cord for damage and verify that the voltage matches the sharpener’s requirements. Keep the sharpener out of reach of children and avoid using damaged cords to prevent electrical hazards. Properly securing the plug ensures safe and reliable operation. Always follow the manual’s electrical safety guidelines.
4.2 Inserting the Pencil
Gently insert the pencil into the designated opening of the Bostitch Electric Pencil Sharpener. Align the pencil straight to ensure proper sharpening. The motor will start automatically once the pencil is correctly positioned. You’ll know sharpening is complete when the motor sound changes or resistance decreases. Do not force the pencil further into the sharpener‚ as this could damage the device or the pencil. Remove the pencil carefully after sharpening.
4.3 Automatic Sharpening Process
Once the pencil is inserted‚ the Bostitch Electric Pencil Sharpener begins sharpening automatically. The motor operates until the pencil reaches the desired sharpness. The Tip Saver Technology ensures the lead is not over-sharpened‚ stopping the process when complete. You’ll notice a change in motor sound or reduced resistance‚ indicating the process is finished. Avoid forcing the pencil further to prevent damage;
4.4 Removing the Sharpened Pencil
Once sharpening is complete‚ carefully remove the pencil from the sharpener to avoid damaging the motor or the device. Do not leave the pencil in the sharpener after the process is finished‚ as this could cause unnecessary wear. Ensure the pencil is fully removed to maintain the sharpener’s performance and longevity. This step is crucial for safe operation and preventing potential issues.
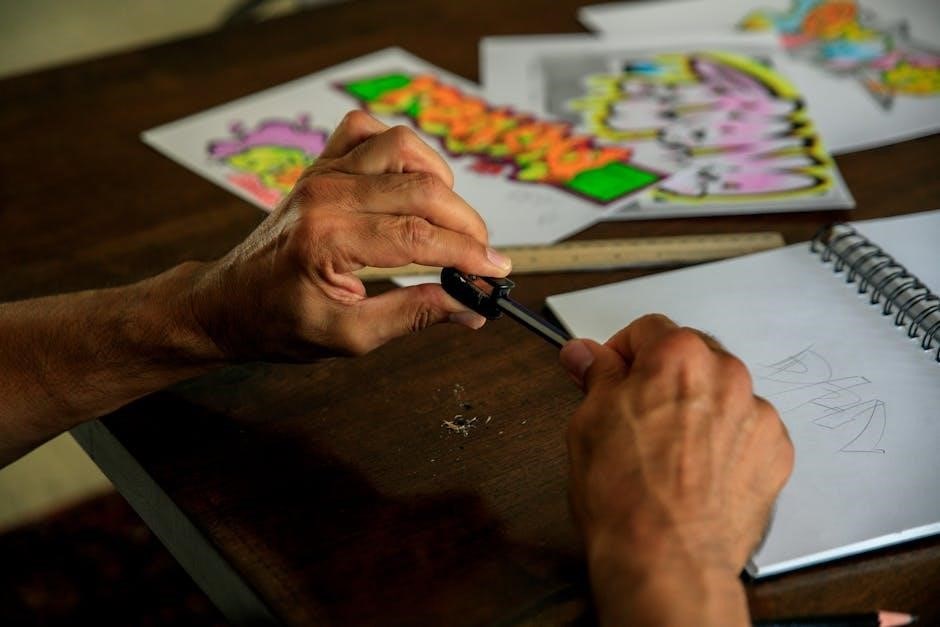
How to Use the Bostitch Manual Pencil Sharpener
Assemble the sharpener‚ insert the pencil‚ and turn the handle gently. Stop when desired sharpness is achieved. Easy to use for precise results every time.
5.1 Assembling the Sharpener
Begin by aligning the sharpener components according to the manufacturer’s design. Secure all parts with the provided screws‚ ensuring stability. Place the shavings tray in its designated slot; Gently tighten any adjustable features for proper alignment. Double-check that all parts are firmly attached and the sharpener is balanced. If pre-assembled‚ simply attach the handle. Ensure all moving parts operate smoothly before use for optimal sharpening results.
5.2 Inserting the Pencil
Select the correct hole in the dial for your pencil size. Align the pencil lead with the opening and gently insert it straight into the sharpener. Ensure the pencil is seated properly before turning the handle. Apply gentle pressure to avoid breaking the lead. The auto-stop feature will prevent over-sharpening. For best results‚ insert the pencil firmly but not forcibly‚ ensuring it aligns with the cutter for an even sharpening process.
5.3 Turning the Handle
Once the pencil is securely inserted‚ grasp the handle firmly and begin turning it clockwise at a steady‚ moderate pace. Apply gentle‚ consistent pressure to ensure even sharpening. Continue until the sharpening process stops automatically. Avoid applying excessive force‚ as this may damage the blades or break the pencil lead. Stop turning immediately if you feel resistance or hear unusual noises to prevent damage to the sharpener or the pencil.
5.4 Stopping the Sharpening Process
To stop sharpening‚ cease turning the handle immediately. If the sharpener has an auto-stop feature‚ it will halt automatically when the pencil is sufficiently sharpened. Always check the pencil tip for desired sharpness before removing it. Carefully withdraw the pencil to avoid breaking the lead. Never force the pencil out while the sharpener is in motion‚ as this could cause damage to the device or the pencil.
Maintenance and Cleaning
Regularly clean the shavings tray and check for blockages. Ensure all parts are dry after cleaning to prevent rust. Lubricate moving parts occasionally for smooth operation.
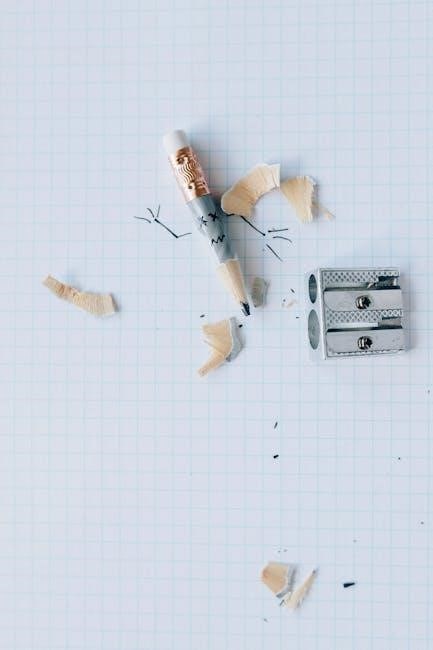
6.1 Emptying the Shavings Tray
Regularly empty the shavings tray to maintain your sharpener’s efficiency. Open the tray release latch‚ carefully pour shavings into a waste bin‚ and wipe clean with a soft cloth. Ensure no residue remains to avoid clogs. Replace the tray securely to prevent accidental openings during use. Proper disposal helps keep your workspace tidy and prolongs the sharpener’s lifespan. Always handle the tray gently to avoid damage and maintain optimal performance.
6.2 Cleaning the Cutting Blades
Clean the cutting blades regularly to ensure optimal performance. Use a small‚ dry brush or a soft cloth to remove shavings and debris. For tougher residue‚ lightly dampen the cloth with water‚ but avoid harsh chemicals. Gently wipe the blades‚ then dry thoroughly to prevent rust. Never touch the blades with bare hands‚ as oils from skin can cause corrosion. Cleaning maintains sharpness and extends the lifespan of your sharpener.
6.3 Lubricating Moving Parts
Regularly lubricate the moving parts of your Bostitch pencil sharpener to ensure smooth operation. Apply a few drops of silicone-based lubricant directly to the gears or hinges. Avoid over-lubrication to prevent attracting dust. Use a clean cloth to wipe away any excess. This maintenance step reduces friction‚ prevents wear‚ and keeps the sharpener functioning quietly and efficiently. Refer to the manual for specific lubricant recommendations.
Troubleshooting Common Issues
Address common issues like motor malfunction or uneven sharpening by checking power connections‚ ensuring proper pencil alignment‚ and cleaning debris. Refer to the manual for detailed solutions.
7.1 Motor Not Starting
If the motor fails to start‚ first ensure the device is properly plugged into a functioning 120-volt outlet. Check for tripped circuit breakers or blown fuses. Verify that the pencil is correctly inserted into the sharpening slot‚ as improper alignment can prevent the motor from activating. Additionally‚ clean any debris or shavings from the tray and cutting area‚ as blockages may hinder operation. Consult the manual for further troubleshooting steps if issues persist.
7.2 Pencil Not Sharpening Properly
If the pencil is not sharpening correctly‚ check if it is inserted properly into the designated slot. Ensure the selected hole matches the pencil’s diameter. Remove any accumulated shavings or debris from the cutting area‚ as clogs can impair performance. Lightly tap the shavings tray to dislodge loose particles. If issues persist‚ inspect the cutting blades for dullness or damage and consider replacing them. Consult the manual for blade replacement instructions if needed.
7.3 Overheating of the Device
If the Bostitch pencil sharpener overheats‚ turn it off immediately and allow it to cool. Overheating often occurs due to prolonged use or blockages. Ensure the shavings tray is empty and check for debris in the cutting area. Verify that the pencil size is appropriate for the selected hole. Avoid continuous operation for extended periods. For persistent issues‚ clean the blades and ensure proper airflow around the device. Regular maintenance can prevent overheating. Consult the manual for further guidance if the problem recurs.
Replacement and Accessories
Explore Bostitch’s range of genuine accessories‚ including replacement blades and sharpening kits. These ensure optimal performance and longevity for your pencil sharpener. Visit Bostitch.com for compatible models.
8.1 Replacing Cutting Blades
Regularly replace cutting blades to maintain sharpness and efficiency. Bostitch offers durable‚ long-lasting replacement blades designed for precise sharpening. Follow manual instructions to install new blades correctly‚ ensuring alignment and secure fitting. Proper replacement prevents damage and extends the sharpener’s lifespan. Always use genuine Bostitch accessories for optimal performance and safety. Visit authorized dealers for authentic replacements.
8.2 Purchasing Additional Accessories
For optimal performance‚ purchase genuine Bostitch accessories like replacement blades‚ shavings trays‚ and power adapters. Visit the official Bostitch website or authorized dealers to ensure compatibility and quality. These accessories are designed to enhance your sharpener’s functionality and longevity. Always verify product compatibility before buying. Genuine parts guarantee safety and performance‚ while third-party items may void your warranty. Contact customer support for assistance in finding the right accessories.

Warranty and Customer Support
Your Bostitch pencil sharpener is backed by a limited warranty. Visit the official Bostitch website for warranty details and contact customer support for assistance with any inquiries or issues.
9.1 Understanding the Warranty
Your Bostitch pencil sharpener is protected by a limited warranty that covers manufacturing defects. The warranty period varies by model‚ typically ranging from one to five years. Proper registration and proof of purchase are required for warranty claims. Exclusions include damage from misuse‚ normal wear‚ or unauthorized repairs. For detailed terms‚ visit the Bostitch website or contact customer support. Keep your warranty document and purchase receipt safe for any claims.
9.2 Contacting Bostitch Support
For assistance with your Bostitch pencil sharpener‚ visit the official Bostitch website to access contact information. Reach their customer support team via phone or email for inquiries‚ troubleshooting‚ or warranty claims. Support is available Monday through Friday during business hours. Ensure to have your product model number and purchase details ready for efficient service. Bostitch is committed to providing prompt and reliable support to address your needs effectively.
Environmental and Disposal Considerations
Properly dispose of your Bostitch pencil sharpener by recycling or following local electronic waste guidelines. Always check regional regulations for environmentally responsible disposal methods.
10.1 Proper Disposal of the Device
For environmentally responsible disposal‚ recycle your Bostitch pencil sharpener through approved e-waste facilities or local recycling programs. Separate electronic components from plastic parts if possible. Check local regulations for specific guidelines on handling electronic devices. Proper disposal helps reduce environmental impact and ensures safe handling of materials. Always prioritize recycling over landfill disposal when available.
10.2 Recycling Old Sharpeners
Recycling your old Bostitch pencil sharpener helps conserve resources and reduce waste. Disassemble the device‚ separating electronic and plastic parts for proper recycling. Check local e-waste or electronics recycling programs for guidance. Many communities offer designated collection points for such items. By recycling‚ you contribute to a more sustainable environment and ensure materials are repurposed responsibly. Participate in eco-friendly practices to make a positive impact.