The Andersen 100 Series sliding door offers a combination of durability, energy efficiency, and modern design; Proper installation ensures optimal performance and longevity. Follow the manufacturer’s guidelines for a seamless process.
1.1 Overview of Andersen 100 Series Sliding Doors
The Andersen 100 Series sliding doors are crafted with Fibrex® material, a durable, energy-efficient composite offering long-lasting performance. Introduced in 2009, these doors combine modern design with functionality, featuring smooth operation and sleek profiles. They are ideal for homeowners seeking a balance between style and reliability. The series offers various configurations and finishes, allowing customization to suit different architectural styles. Fibrex® material is twice as strong as vinyl, ensuring resistance to warping and fading. These doors are designed to provide natural light, enhance indoor-outdoor living spaces, and deliver exceptional thermal performance. Their sustainable construction aligns with eco-friendly building practices.
1.2 Importance of Proper Installation
Proper installation of Andersen 100 Series sliding doors is crucial for optimal performance, energy efficiency, and durability. Correctly following installation guidelines ensures airtight sealing, prevents water infiltration, and maintains structural integrity. Improper installation can lead to operational issues, reduced energy efficiency, and potential damage from environmental factors. Andersen provides detailed, customizable instructions to guide installers through each step, from preparing the rough opening to final adjustments. Adhering to these instructions helps prevent future problems and ensures the door functions smoothly for years. Proper installation also preserves the product warranty and maintains the aesthetic appeal of the door.
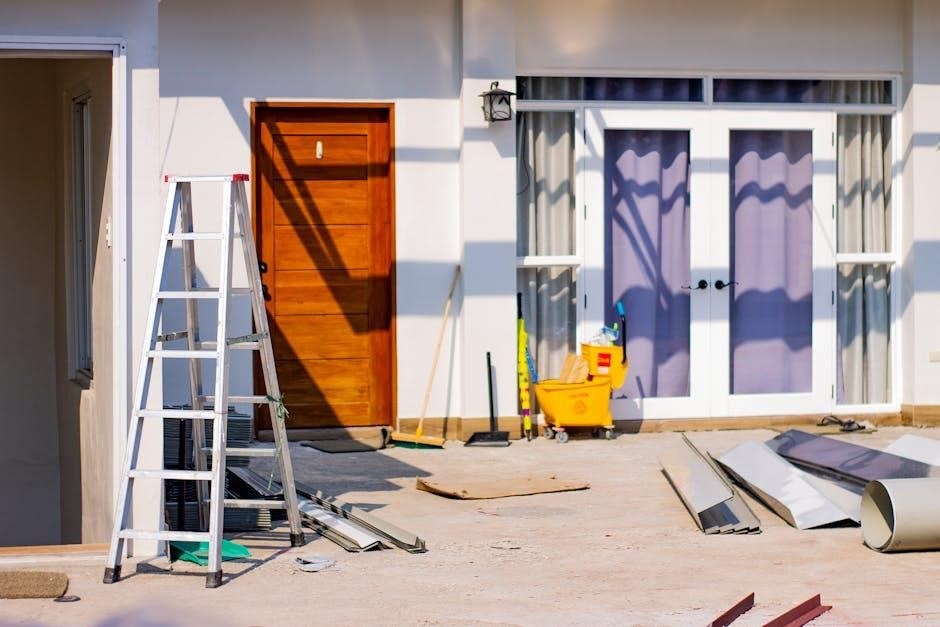
Preparing for Installation
Prepare by gathering tools and materials, assessing the rough opening, and ensuring proper site conditions. This step ensures a smooth and successful installation process.
2;1 Tools and Materials Needed
Ensure you have all necessary tools and materials before starting. Essential tools include a power drill, screwdriver, measuring tape, level, shims, and safety gear like gloves and goggles. Materials needed are weatherproof sealants, flashing tape, and insulation. Additionally, gather the Andersen 100 Series door components, including frames, rollers, and hardware. Refer to the installation guide for specific product requirements. Proper preparation prevents delays and ensures a secure, weather-tight installation. Always follow manufacturer recommendations for tools and materials to maintain warranty and performance standards. Double-check your inventory before proceeding to avoid unnecessary interruptions during the installation process.
2.2 Assessing the Rough Opening
Before installation, carefully assess the rough opening to ensure it meets Andersen 100 Series specifications. Measure the width and height using a tape measure, and verify the opening is square with a level. Check for any obstructions, such as wiring or plumbing, and ensure the surface is clean and dry. The rough opening must align with the door’s dimensions for proper fit and function. Andersen’s installation guide provides precise measurements and requirements. If the opening does not match, adjust it accordingly before proceeding. A well-prepared rough opening ensures a secure and weather-tight installation, adhering to Andersen’s quality standards. Follow local building codes for compliance.

Installing the Door Frame
Place the door frame into the prepared opening, ensuring alignment with the rough opening. Secure the frame using Andersen-approved fasteners, following manufacturer guidelines for proper fit and stability.
3.1 Sealing the Rough Opening
Properly sealing the rough opening is critical for energy efficiency and water protection. Begin by applying a weatherproof sealant around the perimeter of the opening to create a tight barrier. Ensure the door frame fits snugly within the opening, and apply additional sealant where necessary to prevent air leaks and moisture infiltration. Flashing must be installed correctly to direct water away from the door. Follow Andersen’s specific guidelines for sealing to ensure long-term performance and prevent potential issues. Proper sealing aligns with the durability of the Fibrex material, enhancing the overall functionality of the Andersen 100 Series sliding door.
3.2 Shimming the Frame
Shimming the frame ensures proper alignment and leveling of the Andersen 100 Series sliding door. Use wood shims to adjust the frame, placing them between the door frame and the surrounding rough opening. Start by checking the frame’s level and plumb, making adjustments as needed. Shim locations should be at the corners and midpoints of the frame to maintain even support. Once the frame is level, secure the shims firmly to prevent movement. Proper shimming prevents operational issues and ensures smooth door functionality; Follow Andersen’s guidelines for shimming to maintain warranty compliance and optimal door performance over time.
Securing the Door
Secure the Andersen 100 Series sliding door by tightly fastening the frame to the surrounding structure. Ensure all screws are properly tightened to prevent movement or shifting over time.
4.1 Fastening the Frame
Fastening the Andersen 100 Series sliding door frame securely ensures stability and proper alignment. Use the provided screws to anchor the frame firmly to the surrounding structure. Start by screwing the top and bottom edges, then move to the sides, ensuring even distribution of force. Tighten all screws gradually to avoid warping the frame. Double-check that the frame is level and plumb before final tightening. Proper fastening prevents movement and ensures smooth door operation over time. Follow the manufacturer’s torque specifications to avoid overtightening, which could damage the frame material. Ensure all screws are snug but not overly tightened to maintain the integrity of the door system.
4.2 Adjusting the Rollers
Adjusting the rollers on the Andersen 100 Series sliding door ensures smooth and effortless operation. Start by checking the roller alignment and height. Use the adjustment screws located on the bottom of the door panel to raise or lower the rollers until they align perfectly with the track. Tighten the adjustment clips securely to maintain the desired position. Ensure the door glides evenly without binding or resistance. If the door sags or drags, minor adjustments may be needed. Proper roller alignment prevents wear on the track and door panels, ensuring long-term performance. Test the door by sliding it open and closed to confirm smooth operation.
Flashing and Water Management
Proper flashing and water management are critical to prevent water infiltration and ensure the longevity of your Andersen 100 Series sliding door. Begin by installing a drip cap above the door opening to direct water away from the assembly. Apply flashing tape to the rough opening, ensuring it adheres securely to the surrounding framing. Seal all gaps and joints to create a weather-tight barrier. Install door sweeps or weatherstripping at the bottom of the door panel to prevent water from entering from below. Finally, test the door under simulated rain conditions to verify that water does not penetrate the system. Proper flashing ensures your door operates efficiently and remains protected from the elements.
Final Touches
Complete the installation by adding trim and hardware, ensuring a polished finish. Test the door’s operation to confirm smooth functionality and proper alignment. Final inspections ensure everything is secure and visually appealing.
6.1 Installing Trim and Hardware
Install trim pieces to cover gaps and enhance the door’s aesthetic appeal. Use aluminum trim for a sleek, durable finish. Measure and cut trim to fit snugly around the frame. Apply a thin layer of sealant to ensure a weather-tight seal. Secure the trim with screws or nails, aligning it perfectly with the door frame. Next, attach hardware such as handles and locks, following the manufacturer’s instructions. Ensure all components are properly aligned and functional. Double-check the hardware for smooth operation and adjust if necessary. Finally, apply a protective finish to the trim and hardware to maintain their appearance and durability over time.
6.2 Testing Door Operation
After completing the installation, thoroughly test the sliding door’s operation. Ensure the door glides smoothly along the track without resistance. Check that the rollers are properly aligned and adjusted for even movement. Verify that the door closes securely and the locking mechanism engages correctly. Test the door’s weather-tightness by inspecting for any gaps or air leaks. Open and close the door multiple times to confirm consistent performance. If any issues arise, refer to the troubleshooting section or consult Andersen’s support resources. Proper testing ensures the door functions as intended and maintains its energy efficiency and durability over time.
Maintenance and Upkeep
Regular maintenance is essential to ensure the Andersen 100 Series sliding door continues to perform optimally. Clean the track and rollers periodically to remove dirt and debris, which can hinder smooth operation. Lubricate the rollers as needed to maintain effortless gliding. Inspect the weatherstripping for wear or damage and replace it if necessary to preserve energy efficiency. Additionally, check the locking mechanism to ensure it secures the door properly. For detailed care instructions, refer to Andersen’s maintenance guides. Proper upkeep will extend the life of your door and maintain its aesthetic appeal. Addressing minor issues promptly prevents larger problems from developing over time.

Safety Considerations
Ensuring safety is crucial during the installation and use of Andersen 100 Series sliding doors. Always follow the manufacturer’s instructions and safety guidelines to prevent accidents. Use proper ladder safety and ensure the installation area is clear of obstacles. Support the door securely during installation to avoid it tipping or falling. Wear protective gear, such as gloves and safety glasses, when handling tools and materials. Additionally, ensure children and pets are kept away from the installation site. Andersen provides specific safety recommendations in their installation guides to help prevent injuries and ensure a secure setup. Adhering to these precautions guarantees a safe and successful installation process.

Customizing Your Installation
The Andersen 100 Series sliding door installation can be tailored to meet specific design and functional needs. Homeowners can customize the door’s appearance by selecting from various hardware options, trim styles, and finishes. Andersen offers a configurator tool to create personalized installation guides based on the door’s size, material, and building type. This ensures a seamless integration with the home’s architecture. Additionally, accessories like grilles, insect screens, and extension jambs can be added to enhance functionality and aesthetics. Andersen’s customization options allow for a unique installation that aligns with personal preferences and architectural requirements, making the door a perfect fit for any home. Proper customization ensures a polished and functional final result.
Troubleshooting Common Issues
Common issues during Andersen 100 Series sliding door installation may include misalignment, water leakage, or operational difficulties. Check for proper frame sealing and flashing installation to prevent water ingress. Ensure rollers are correctly adjusted for smooth operation. If the door is difficult to open or close, verify that the frame is level and plumb. Consult Andersen’s troubleshooting guides or contact their support team for assistance. Regular maintenance, such as cleaning tracks and lubricating rollers, can prevent many issues. Addressing problems promptly ensures long-term performance and satisfaction with your Andersen 100 Series sliding door installation.
Installing an Andersen 100 Series sliding door is a rewarding project that enhances your home’s functionality and aesthetic appeal. By following the provided instructions and adhering to manufacturer guidelines, you can ensure a successful installation. Proper preparation, precise alignment, and careful attention to sealing and flashing are key to achieving optimal performance. Regular maintenance will extend the life of your door and maintain its energy efficiency. With its durable Fibrex material and sleek design, the Andersen 100 Series sliding door offers long-term satisfaction. Whether you’re a DIY enthusiast or hiring a professional, the end result will be a beautiful, functional addition to your home.